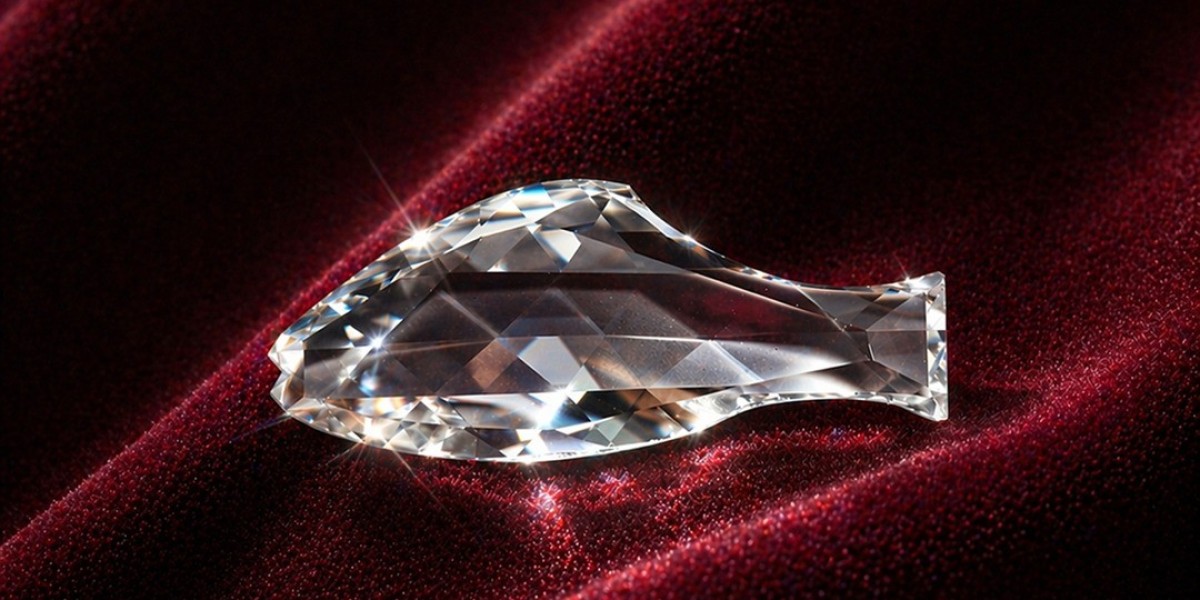

A diamond bought off a shelf tells a generic story. A diamond you design yourself tells your story down to the angle of every facet. Designing a custom diamond used to be something only royalty or the ultra-wealthy could do. Today, thanks to online design tools, CAD technology, and direct-to-consumer jewelers, anyone can create a one-of-a-kind stone that fits their vision, their finger, and their budget.
If you've ever looked at a showcase of identical round solitaires and felt nothing, this guide is for you. Below is a step-by-step breakdown of how to design your own custom diamond, what actually matters at each stage, and the mistakes to avoid along the way.
Why Design a Custom Diamond Instead of Buying Ready-Made?
Ready-made diamonds are convenient, but convenience comes at the cost of individuality. When you buy off the shelf, you're choosing from whatever combination of shape, size, and quality happens to be in stock. When you design your own diamond, the process flips — the stone is built around your preferences instead of the other way around.
A custom-designed diamond also tends to deliver better value. Instead of paying for standard upgrades you don't care about (like a slightly higher color grade you can't see with the naked eye), you allocate your budget exactly where it matters to you — a rare shape, a specific size, or an exceptional cut.
Step 1: Set Your Budget Before You Start Designing
Every good design starts with a number. Diamond pricing is influenced by so many overlapping factors carat, cut, clarity, color, and shape that it's easy to fall in love with a combination not everyone can actually afford. Decide on a realistic budget range first, then let that number guide every decision that follows. A skilled jeweler can usually help you get 90% of the look you want within your target price by adjusting one or two of the 4Cs.
Step 2: Choose Your Diamond Shape
Shape is the most personal decision in the process because it defines the diamond's character before quality grades even come into play.
Some popular options include:
Round Brilliant: The classic choice, engineered for maximum sparkle and fire.
Oval and Marquise: Elongated shapes that create the illusion of greater size.
Cushion and Radiant: A soft blend of vintage romance and modern brilliance.
Emerald and Asscher: Step-cut shapes that showcase clarity with clean, architectural lines instead of heavy sparkle.
Rose Cut and Old Mine Cut: Antique-inspired cuts with a warm, candlelit glow, popular for vintage-style custom pieces.
Kite, Shield, Hexagon, and Half Moon: Unconventional shapes for buyers who want something a standard jewelry store won't carry.
If you're designing an engagement ring, consider the wearer's lifestyle, hand shape, and taste. A step-cut diamond, for instance, shows inclusions more readily than a brilliant cut, so it suits a higher clarity grade.
Step 3: Learn and Prioritize the 4Cs
Every diamond, custom or not, is graded on four core characteristics. Understanding how they interact lets you decide where to spend and where to save.
Cut determines how much a diamond sparkles, and it matters more than any other single grade. A diamond cut to poor proportions will look dull even with excellent color and clarity. This is the one C most experts recommend never compromising on.
Color is graded on a scale from D (completely colorless) to Z (visibly yellow or brown). Most buyers can't distinguish between grades in the near-colorless range (roughly G–I) once the stone is set, which makes this a good place to save money if your budget is tight.
Clarity measures internal and external imperfections, ranging from Flawless down to Included. Many of these inclusions are invisible without magnification, so a diamond in the VS or even SI range often looks just as clean to the eye as a flawless stone at a fraction of the price.
Carat refers to weight, not size. Because carat weight increases price exponentially rather than linearly, a diamond just under a round number (0.95 instead of 1.00 carat, for example) can look almost identical while costing noticeably less. A well-executed cut can also make a lower-carat stone appear larger than its weight suggests.
The key to designing a diamond you'll love and can actually afford is prioritizing these four factors rather than maximizing all of them at once.
Step 4: Decide Between Natural and Lab-Grown Diamonds
Both natural and lab grown diamonds are chemically, physically, and optically identical the only real difference is origin. Natural diamonds form underground over billions of years and carry a sense of rarity and heritage that many buyers value in milestone pieces. Lab-grown diamonds are created in controlled environments in a matter of weeks, typically cost 30–40% less at the same specifications, and appeal to buyers focused on budget or sustainability. Neither option is objectively "better"; it comes down to what matters more to you: geological rarity or value and traceability.
Step 5: Choose Your Setting and Metal
The setting is where your diamond's personality really comes through. A solitaire setting puts all the attention on the stone itself, while a halo setting adds surrounding smaller diamonds to boost perceived size and sparkle. Vintage-inspired filigree, bezel settings for a modern and secure look, and three-stone designs symbolizing past, present, and future are all popular custom directions.
Metal choice matters too. Platinum is the most durable and hypoallergenic option, white gold offers a similar look at a lower price point, yellow gold pairs beautifully with vintage cuts like rose cut or old mine cut diamonds, and rose gold has become a favorite for a warmer, romantic finish.
Step 6: Review a 3D Rendering or CAD Model Before Production
Reputable custom jewelers now use CAD (computer-aided design) software to create a photorealistic 3D model of your diamond and setting before any cutting or casting begins. This step is non-negotiable; it's your chance to check proportions, spot issues, and request changes at no cost or risk. Ask to see the render from multiple angles, and don't hesitate to request adjustments to prong height, band width, or stone placement until it matches what's in your head.
Step 7: Confirm Certification
A custom diamond is only as trustworthy as its paperwork. Always ask for grading from an independent, internationally recognized laboratory such as GIA (Gemological Institute of America) or IGI (International Gemological Institute). Certification objectively verifies the 4Cs, protects your investment for resale or insurance, and confirms that what you're paying for is what you're getting.
Step 8: Work With a Trusted Custom Diamond Specialist
The final, and arguably most important, step is choosing who brings your design to life. Look for a seller who offers transparent pricing with no hidden costs, works directly with certified cutters and graders rather than layers of mediators, provides a CAD proof before production, and stands behind the finished piece with a clear return or exchange policy. Specialists who focus specifically on customization, such as Opulent Diam, typically offer far more flexibility on shape, carat range, and color/clarity combinations than a general jewelry retailer, since building custom stones and settings is their core business rather than a side offering.
Common Mistakes to Avoid When Designing a Custom Diamond
Maximizing every C at once: Trying to get top grades across cut, color, clarity, and carat almost always blows the budget. Prioritize instead.
Skipping the CAD review: Approving a design without seeing a 3D render is one of the most common sources of buyer's remorse.
Ignoring lifestyle: An intricate, high-set design might not suit someone who works with their hands daily.
Choosing shape based on trends alone: A shape that photographs well on social media isn't always the most flattering or durable choice for daily wear.
Not asking about certification upfront: Confirm which lab will grade the stone before you commit, not after.
FAQs
1. How long does it take to design and receive a custom diamond?
Most custom orders take between two and four weeks from final approval to delivery. Rare shapes or specific color and clarity combinations can take longer, so ask for a timeline before you commit.
2. Is designing a custom diamond more expensive than buying one ready-made?
Not necessarily. Because you're only paying for the specifications you actually want, a custom diamond often costs the same as — or less than — a comparable ready-made stone with unnecessary upgrades built in.
3. Can I design a custom diamond entirely online?
Yes. Most specialized jewelers now let you select shape, carat range, color, and clarity through an online form or configurator, then follow up with a consultation and a CAD rendering before production begins.
Final Thoughts
Designing your own custom diamond is part science and part self-expression. Once you understand how shape, the 4Cs, setting, and certification work together, you're no longer just buying a diamond; you're building one that says exactly what you want it to. Take your time with each step, lean on a jeweler who specializes in customization, and insist on seeing your design rendered before it's ever cut. The result is a piece with a story that belongs entirely to you.